
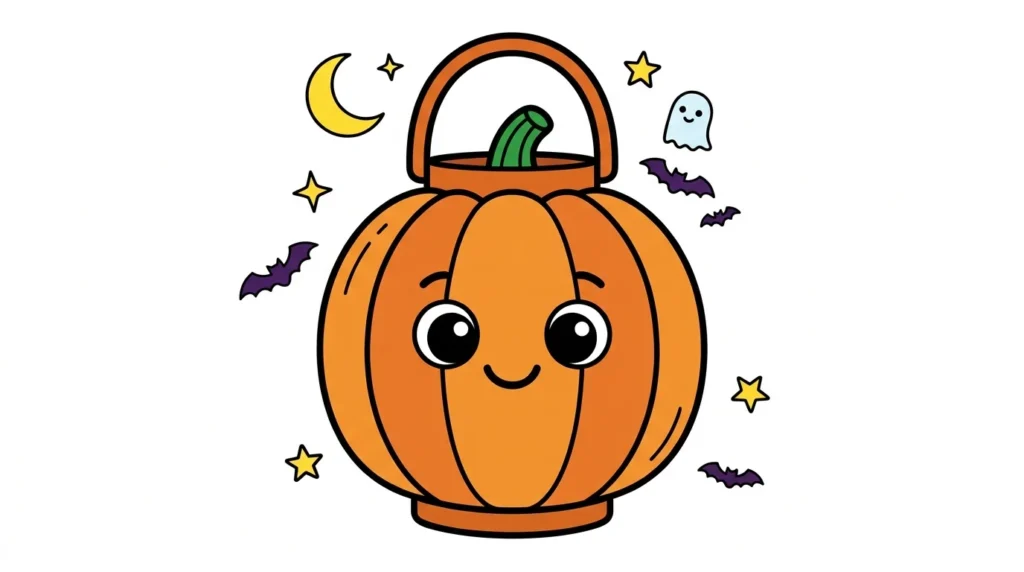
Making a DIY Halloween Lantern is a fun craft activity for kids, families, classrooms, and Halloween parties. With simple materials, children can create a spooky lantern, add their favorite colors, and enjoy a hands-on seasonal project.
What You Will Need for a DIY Halloween Lantern
You only need a few simple craft supplies to make a Halloween lantern. Most of these items can be found at home or in a classroom craft box.
You may need:
- Printable Halloween lantern template
- White paper or cardstock
- Crayons, colored pencils, or markers
- Child-safe scissors
- Glue or tape
- Ruler
- Pencil
- Colored tissue paper
- Battery-powered tealight
Choose thicker paper if you want the finished lantern to stand up more easily. Cardstock is especially useful because it gives the lantern a stronger shape.
Safety Notes for Making a Halloween Lantern
Children should always have adult supervision when making a Halloween lantern. Scissors should be child-safe, and younger children may need help cutting smaller shapes.
For lighting, use a battery-powered tealight instead of a real candle. Never place a burning candle inside a paper lantern because the paper can catch fire.
Adults can help with cutting, folding, and gluing while children focus on coloring and decorating.
How to Make a DIY Spooky Lantern Step by Step
Start by preparing the printable lantern design on a flat work surface. Let children look at the different Halloween shapes and decide how they want their lantern to look.
Color the design before assembling the lantern. This makes it easier for children to fill the open spaces without having to work around folded sections.
Next, carefully cut around the outside of the lantern and cut out any marked window areas. Fold along the required lines, then glue or tape the sides together.
Once the lantern is assembled, place a battery-powered tealight inside to create a soft Halloween glow.
How to Prepare the Paper for Your Lantern
Print the lantern template on white cardstock or another sturdy sheet of paper. Make sure the page is flat before children begin coloring.
Place the paper on a clean table with plenty of room for crayons and markers. Encourage children to color each section carefully while leaving any cutting areas easy to identify.
If you do not have cardstock, regular printer paper can also work. For a sturdier lantern, attach the finished design to a second sheet of paper before assembling it.
How to Fold the Paper Into Lantern Panels
After coloring, gently fold the paper along the marked lines. Use a ruler to help create neat, straight folds if needed.
Press each fold carefully with your fingers. Clean folds help the lantern panels line up correctly when the craft is assembled.
Children can practice following lines and using both hands together during this step. It also adds a simple fine motor challenge to the Halloween craft.
How to Draw and Trace the Lantern Windows
The lantern windows can feature fun Halloween shapes such as pumpkins, ghosts, bats, cats, or spooky faces. Trace the outlines carefully before cutting.
If children are using a printable template, they can trace over the existing dotted or light outlines with a pencil or marker.
Tracing encourages children to practice hand control and follow visual paths. It also helps them understand where the lantern sections will be cut and decorated.
For younger children, an adult can complete the cutting while the child focuses on tracing and coloring the Halloween designs.
DIY Halloween Mask Dot Marker Tracing and Coloring Pages
Dot marker activities can make a DIY Halloween mask even more engaging for young children. Start with a printable mask outline that includes dotted lines around the main shape or selected decorative details.
Children can use a dot marker to carefully trace along the dotted outline before coloring the mask. This activity encourages them to follow a path, control their hand movements, and stay within a defined area.
After tracing, children can color the mask using crayons, colored pencils, or washable markers. They can choose traditional Halloween colors or create their own unique design.
This simple combination of tracing and coloring can support:
- Fine motor development
- Hand-eye coordination
- Pencil and marker control
- Visual tracking
- Concentration
- Creativity
- Following simple patterns
For younger children, use large dotted lines and simple shapes. Larger spaces make the activity easier for preschool and kindergarten learners.
More Fun DIY Halloween Mask Ideas
Once children understand how to create a basic pumpkin mask, they can experiment with other Halloween-inspired designs.
Try making masks based on friendly Halloween characters such as cats, bats, ghosts, monsters, or witches. Each design can have a different shape and decoration style.
Children can also create seasonal patterns using dots, stars, stripes, zigzags, and simple shapes. Encourage them to choose their own colors rather than following a fixed design.
For a classroom or homeschool activity, children can create several different masks and display them as a Halloween craft collection. This gives them an opportunity to practice cutting, coloring, and creative decision-making.
Tips
Keep the DIY Halloween mask activity simple and age-appropriate. Preschool children may need help with drawing, cutting, and attaching the elastic, while older children can complete more steps independently.
Use thick paper or cardstock when possible because it holds its shape better. Leave plenty of open space for coloring, especially when creating masks for younger children.
Before wearing the finished mask, check the eye holes carefully. Children should have a clear view and be able to breathe comfortably.
You can also laminate the completed mask or cover it with clear contact paper if you want to make it more durable. Make sure any added material does not make the mask uncomfortable or block the child’s vision.
Summary
Creating a DIY Halloween Mask is an easy Halloween craft that combines creativity with hands-on learning. Children can draw a pumpkin design, cut out the shape with adult help, color the mask, add decorations, and attach elastic for wearing.
Adding dotted tracing lines makes the activity even more useful for preschool and kindergarten children. Tracing before coloring helps develop fine motor control while giving children a fun way to practice following outlines.
With simple materials and a little imagination, kids can turn an ordinary piece of paper into a colorful Halloween mask they will enjoy making and wearing.
FAQs
What materials do I need to make a DIY Halloween mask?
You can make a simple mask with paper or cardstock, a pencil, scissors, crayons or markers, glue, and elastic string or ribbon. Optional decorations can be added for extra creativity.
Can kids make a DIY Halloween mask safely?
Yes. Children can safely enjoy the craft with age-appropriate materials and adult supervision. Adults should help with cutting difficult areas, attaching elastic, and checking that the finished mask provides clear vision.
Grace Holloway is a Creative Learning Designer with more than 9 years of experience producing visually engaging educational resources for preschool and kindergarten children. She specializes in combining educational principles with creative design to develop worksheets that encourage learning through play, exploration, and creativity.