
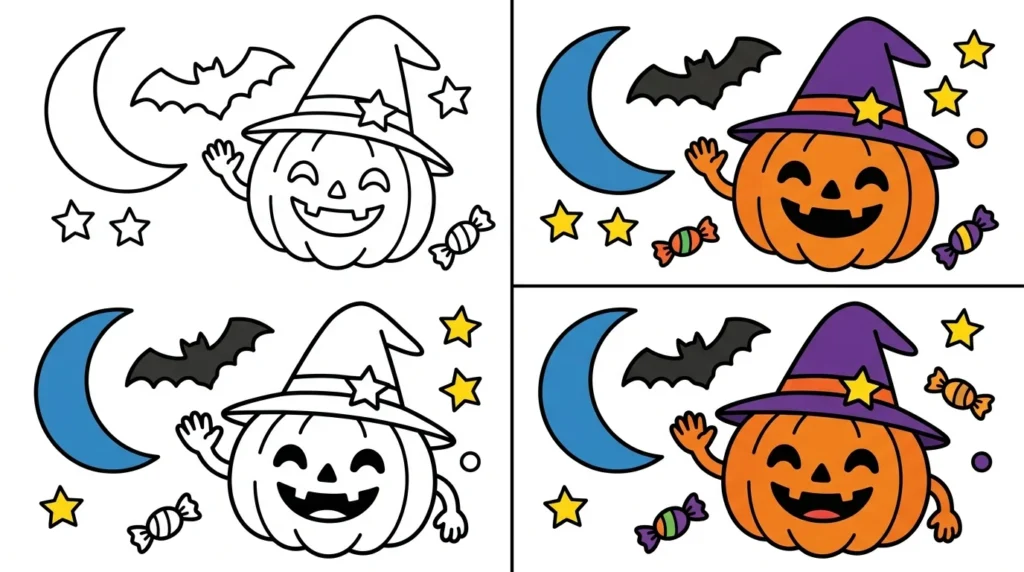
Making a DIY Halloween Pop Up Card is a fun way to combine coloring, drawing, cutting, and simple paper crafting. With a few basic supplies, kids can create a spooky 3D scene featuring Halloween characters and decorations. Adult supervision is recommended during cutting and gluing steps.
What You Will Need for a DIY Halloween Pop Up Card
You do not need many supplies to make this Halloween craft. Gather everything before starting so the activity stays simple and enjoyable.
- Plain cardstock or thick paper
- Pencil and eraser
- Child-safe scissors
- Non-toxic glue stick
- Crayons, colored pencils, or markers
- A clean, flat work surface
- Extra paper for Halloween decorations
Cardstock is a good choice because it is stronger than regular paper and can better support the pop-up pieces. The original craft also recommends using Letter or A4-sized card.
DIY Halloween Pop Up Card Safety Tips
Safety is especially important when children are making a pop-up card because the craft involves scissors and glue.
Use child-safe scissors whenever possible, and have an adult help with small or difficult shapes. Choose a non-toxic glue stick and work on a clean, flat surface. If markers are being used, allow the artwork to dry before handling it.
For the raised decorations, thin strips of cardstock can help bats, ghosts, and other pieces stand upright securely.
How to Make a DIY Halloween Pop Up Card Step by Step
Start by preparing a plain sheet of cardstock. Fold the card in half and create a firm, neat crease. This fold becomes the foundation of the pop-up design.
Next, mark the section that will rise when the card opens. Keep the design centered so the finished card remains balanced.
Carefully cut along the two side lines of the marked section while leaving the bottom edge attached. The attached edge works as a hinge, allowing the section to fold forward and create the pop-up effect.
Fold the Card and Create the Pop-Up Base
Place the cardstock on your work surface and fold it in half horizontally. Press along the fold so you have a sharp, even crease.
On the folded edge, draw a small rectangular or square shape for the pop-up section. You can adjust its size depending on how large you want the main Halloween decoration to be.
Carefully cut only along the two side lines. Do not cut the bottom edge. Once the card is opened, gently push the cut section forward to form the basic pop-up tab.
Draw and Color the Halloween Card Background
Once the pop-up base is ready, open the card and decorate the inside background. A spooky Halloween night is a great theme for this project.
Children can draw a moon, clouds, stars, a dark sky, grass, or other simple details. Let them choose their own colors to make the card personal and creative.
Crayons, colored pencils, and markers can all work well. Encourage children to color large areas first and then add smaller details around the scene.
A colorful background gives the finished pop-up pieces a stronger setting and makes the 3D effect more noticeable.
Create and Color Spooky Halloween Details
Now it is time to create the characters and decorations that will make the card feel spooky. Draw Halloween shapes on a separate sheet of paper before cutting them out.
Some easy ideas include:
- A spooky haunted house
- A black cat
- Bats
- Ghosts
- Tombstones
- A Halloween moon
- Small stars or clouds
Use bold, fun colors to make each decoration stand out. Children can experiment with different combinations instead of following one fixed color scheme.
The original craft uses Halloween details such as a haunted house, cat, tombstone, bats, and ghosts to build the 3D scene.
Cut Out the Halloween Pop-Up Pieces
Once your Halloween drawings are colored, carefully cut them out. You can include a haunted house, black cat, tombstone, bats, ghosts, or any other spooky shapes you like.
Try to cut slowly around the edges so the pieces keep their original shapes. For young children, an adult should help with small or tricky sections.
These cut-out pieces will become the main decorations of your DIY Halloween Pop Up Card. (coloringbunny.com)
Glue the Haunted House and Other Decorations
Apply a small amount of non-toxic glue to the pop-up tab inside the card. Place the haunted house on the tab and press it gently until it sticks securely.
Next, attach the black cat and tombstone to suitable areas around the background. Leave enough space between the decorations so each piece can be seen when the card is opened.
Avoid using too much glue because excess glue can make the paper wet or difficult to fold. Allow the pieces to dry before opening and closing the card repeatedly. (coloringbunny.com)
Add Bats, Ghosts, and Fun 3D Details
Small decorations can make your Halloween card even more exciting. Draw and color bats or ghosts on another piece of paper, then cut them out carefully.
Attach the small shapes to thin strips of cardstock. Glue the strips onto the pop-up section so the decorations stand upright when the card opens.
This simple technique creates extra layers and gives the card a playful 3D appearance. You can experiment with different heights and positions to make the Halloween scene look more dynamic. (coloringbunny.com)
Decorate the Outside of Your Halloween Card
Do not forget the outside of the card. A decorated cover makes the project look complete before the recipient even opens it.
Children can draw a large moon, clouds, stars, bats, pumpkins, or other Halloween shapes. Add colors that match the spooky theme used inside the card.
Keep the outside design simple enough that the card can still close easily. Let all coloring and glue dry before folding the card completely. (coloringbunny.com)
DIY Halloween Pop Up Card Dot Marker Tracing and Coloring Pages
Dot marker tracing can be added as a simple printable activity before making the pop-up card. Children can trace dotted outlines of pumpkins, bats, ghosts, haunted houses, or other Halloween shapes using a dot marker.
After tracing the dotted lines, children can color each picture with crayons, colored pencils, or washable markers. This gives them an opportunity to practice controlled hand movements while enjoying a Halloween-themed activity.
Tracing dotted outlines can support fine motor development, hand-eye coordination, pencil or marker control, and visual attention. It can also help children become more comfortable following lines and staying within simple shapes.
For younger children, choose large dotted shapes with plenty of open space. Older preschoolers can try smaller details and more complex Halloween designs.
Enjoy Your Finished Halloween Pop-Up Card
Your DIY Halloween Pop Up Card is now ready to enjoy or share with someone special. Open it slowly to see the haunted house, characters, and decorations rise from the page.
Children can personalize their cards by changing the colors, adding their own Halloween characters, or writing a short message inside.
This craft is also a great activity for Halloween parties, classroom craft time, homeschool activities, or a creative afternoon at home. The finished card can become a handmade Halloween greeting for a parent, teacher, friend, or family member. (coloringbunny.com)
Tips
- Use cardstock instead of very thin paper for a stronger card.
- Draw large shapes that are easier for children to color and cut.
- Use child-safe scissors and supervise every cutting activity.
- Choose non-toxic glue and coloring supplies.
- Keep the pop-up design centered for better balance.
- Do not add too many decorations to the pop-up tab.
- Use thin cardstock strips to create extra 3D layers.
- Let glue and marker ink dry before closing the card.
- Test the card by opening and closing it gently.
- Encourage children to create their own Halloween designs.
Summary
A DIY Halloween Pop Up Card is a creative paper craft that combines coloring, drawing, cutting, folding, and gluing. Children can build a simple pop-up base, create spooky Halloween characters, and arrange them into a fun 3D scene.
With adult supervision and a few basic supplies, this activity can provide an enjoyable way for children to explore creativity and practice fine motor skills. The finished card can also be given as a special handmade Halloween greeting.
FAQs
What materials do you need to make a Halloween pop-up card?
You need cardstock or thick paper, a pencil, an eraser, child-safe scissors, non-toxic glue, and coloring supplies such as crayons, colored pencils, or markers.
Can kids make a DIY Halloween pop-up card?
Yes. Kids can enjoy drawing, coloring, and decorating the card, while adults should supervise cutting and gluing, especially when creating the pop-up sections.

Ethan Richardson is an Educational Content Editor with more than 10 years of experience reviewing and developing educational materials for young learners. His expertise includes improving worksheet accuracy, readability, and instructional quality while ensuring learning resources meet modern educational standards.